
Our DIY Disco Backdrop!
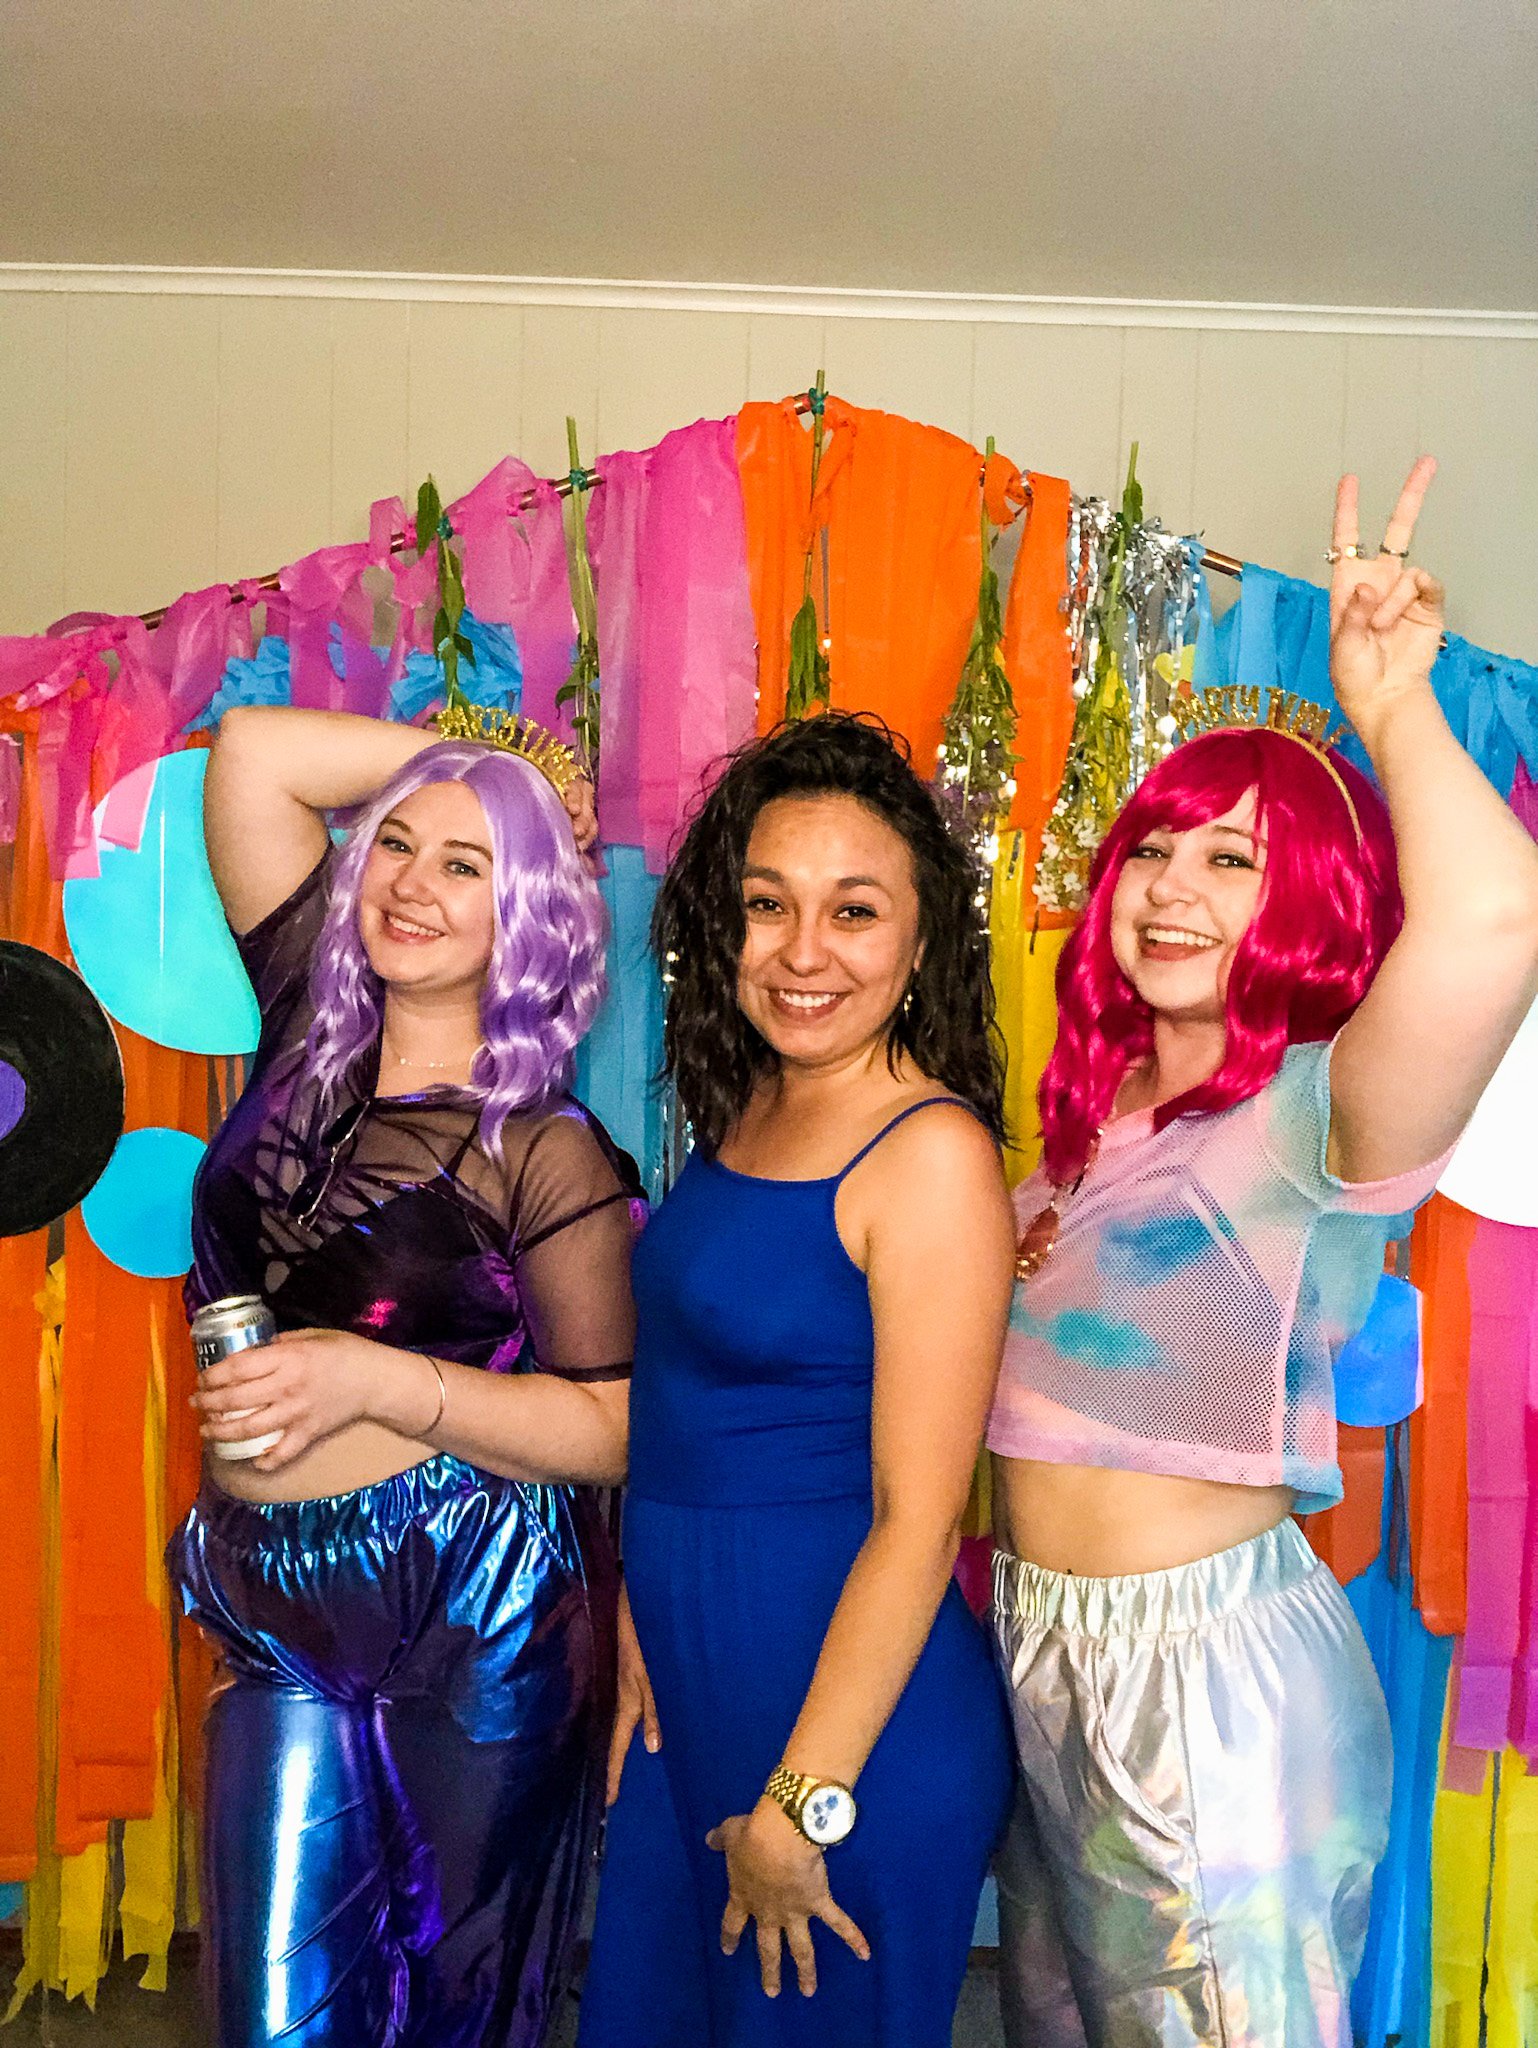
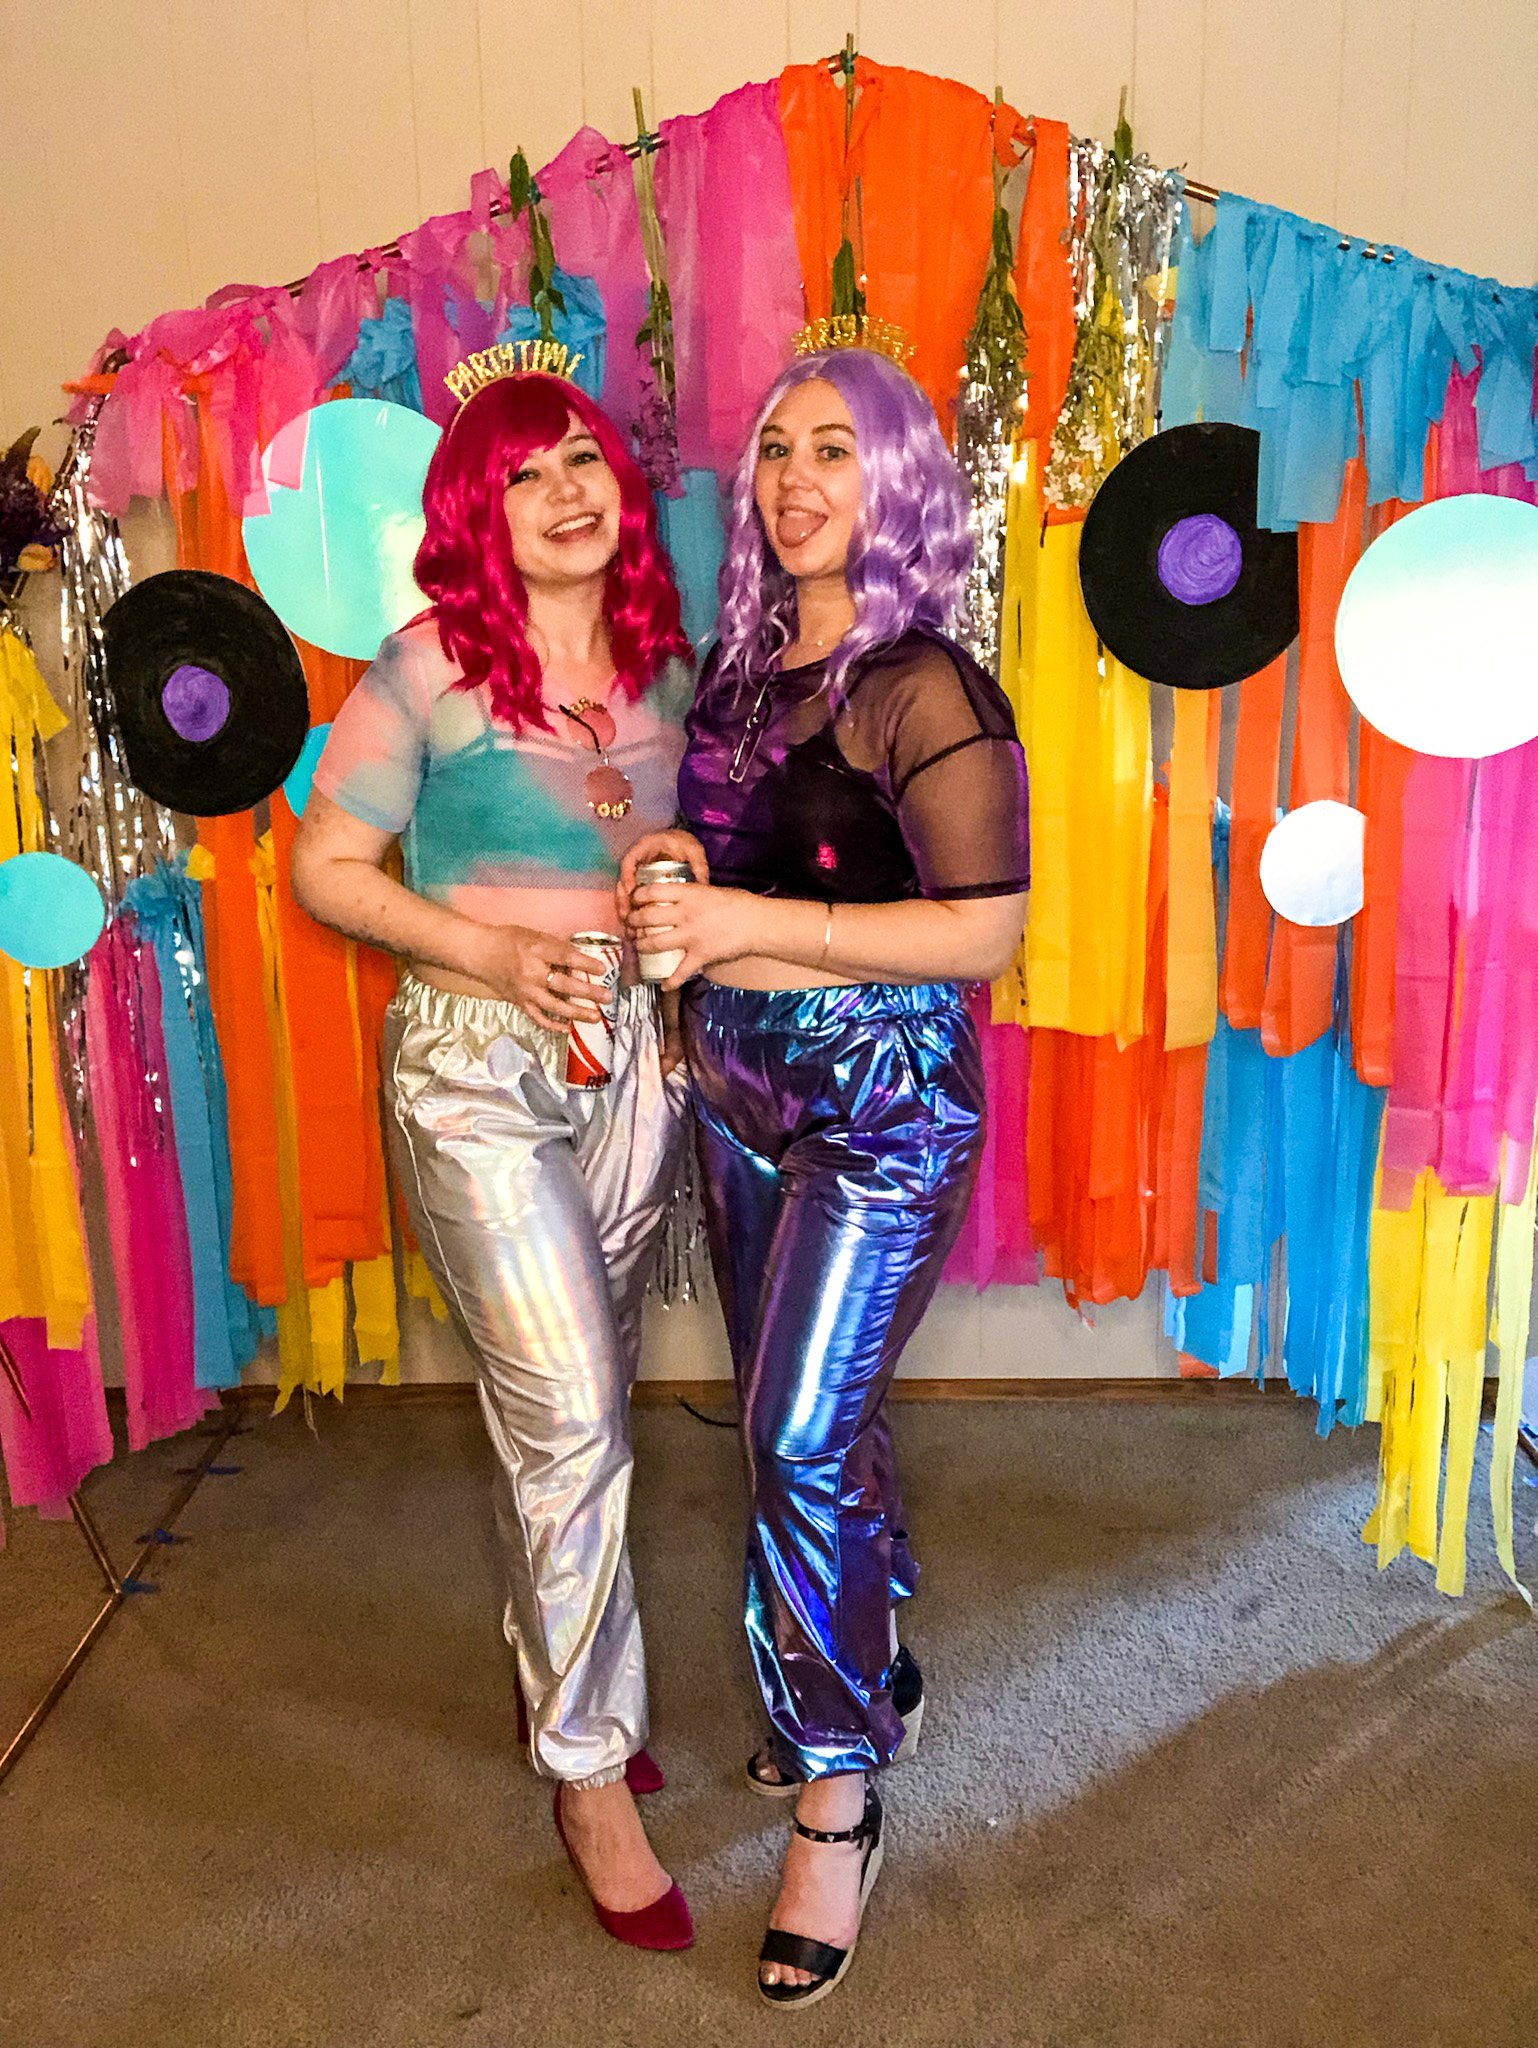
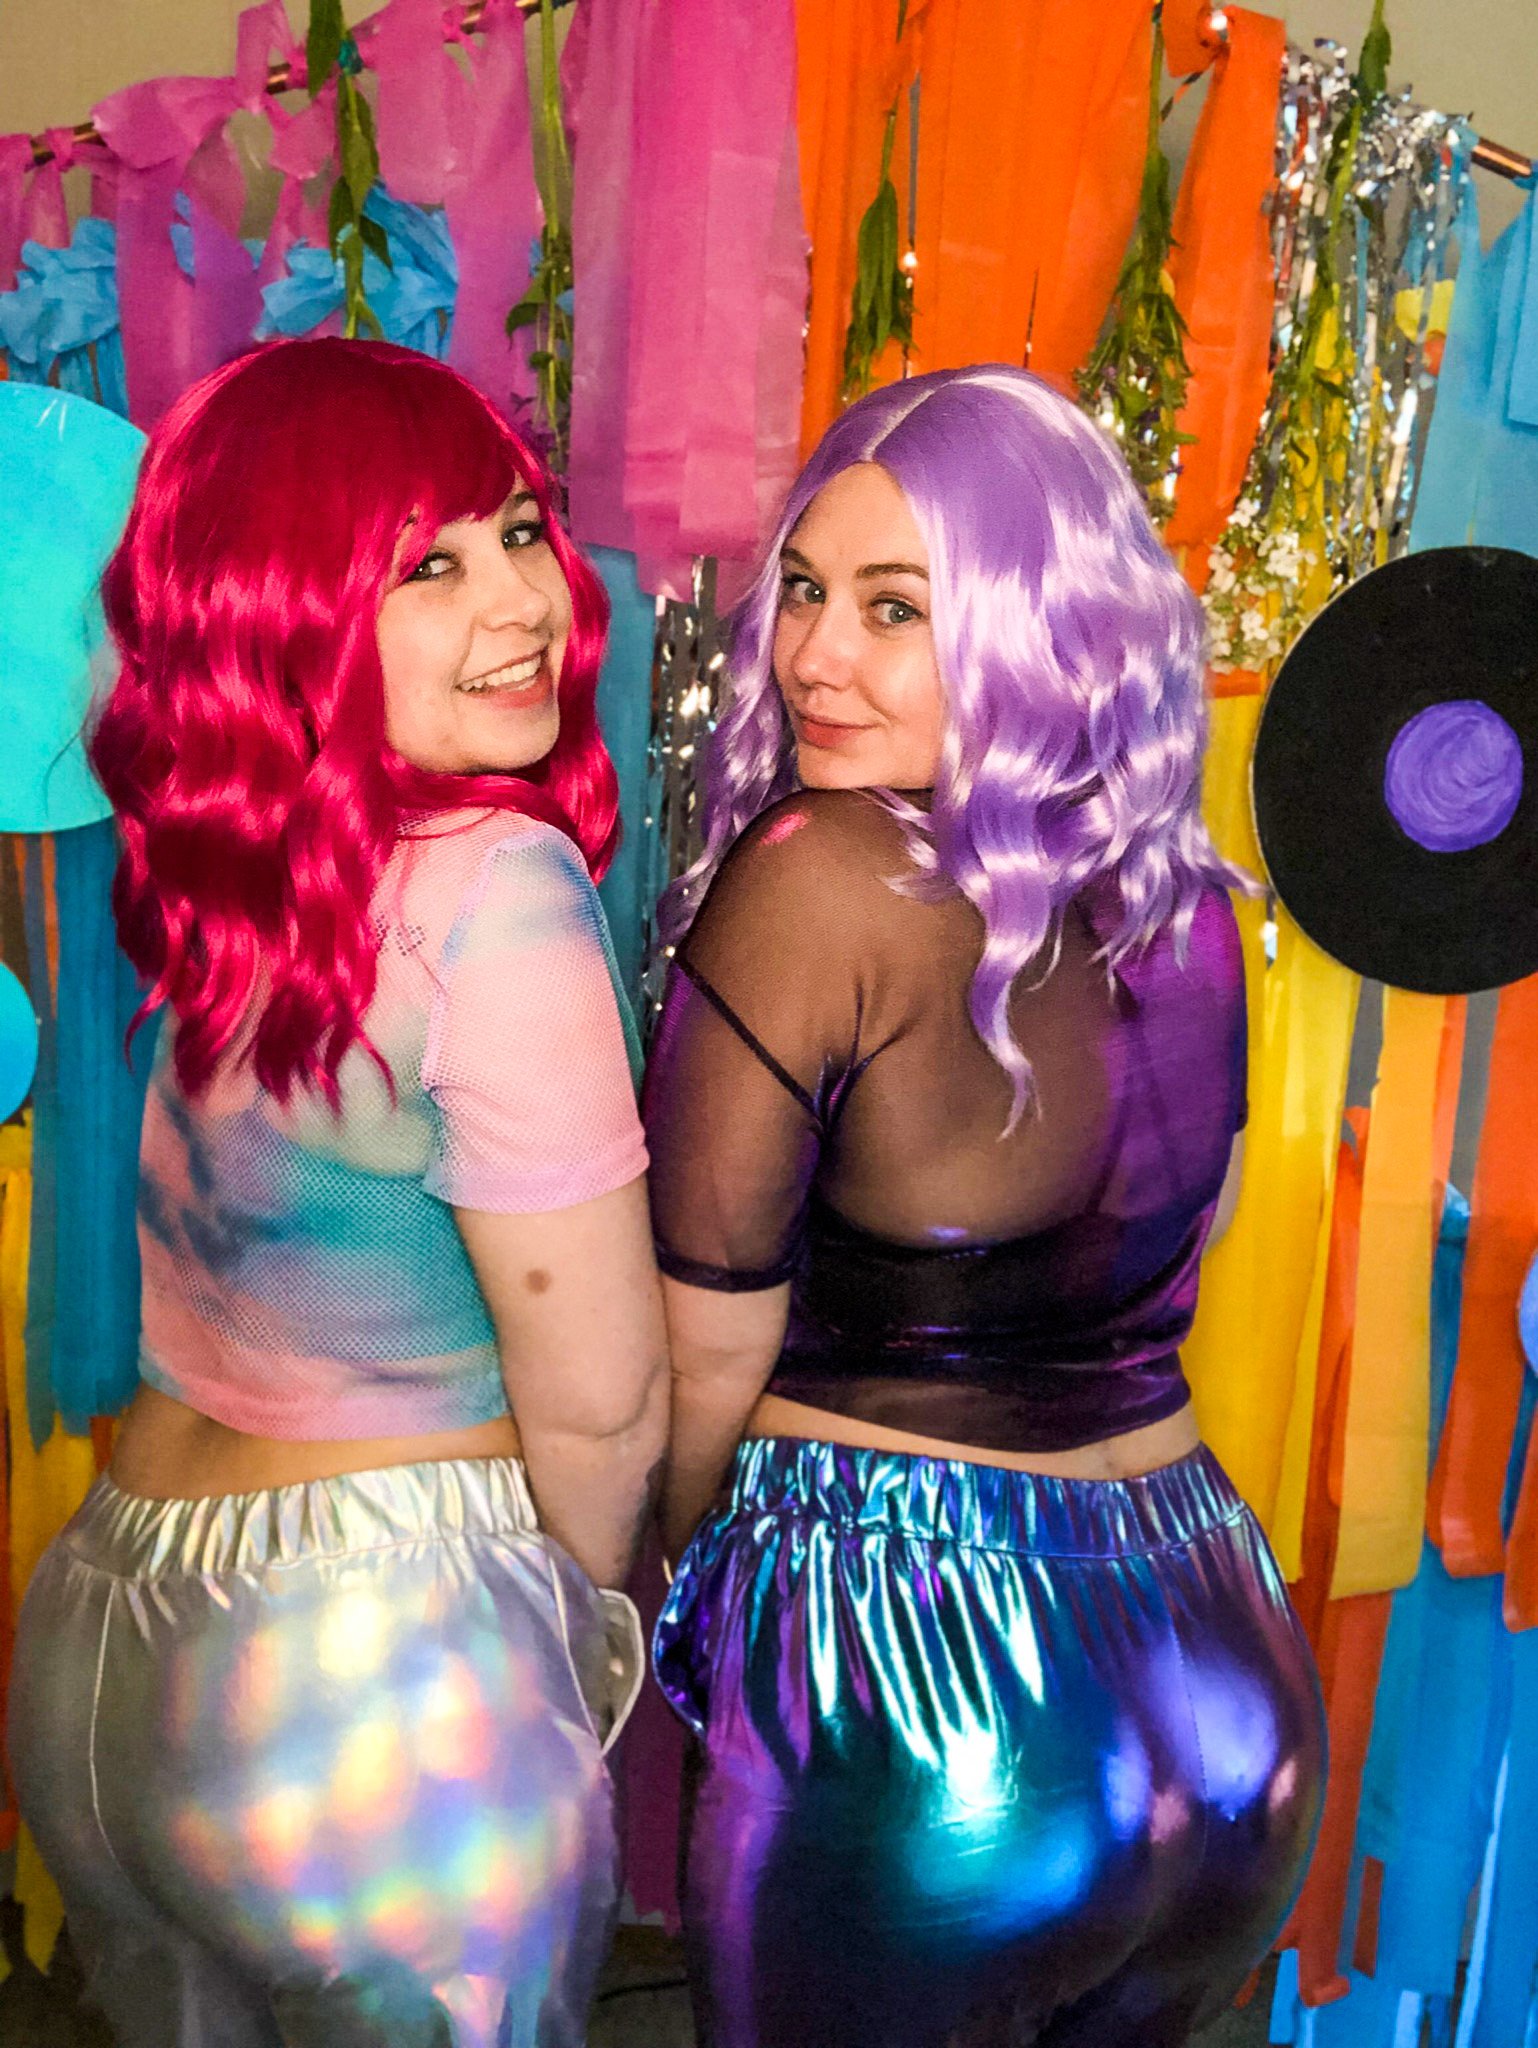
Our very own, Hannah and Mariah, celebrated their birthday this last Thursday, and they decided they wanted to have a groovy party with lots of bright & iridescent colors, roller blading, and even wigs!
This is our first DIY tutorial blog in awhile. Instead of explaining everything out to you, we’re just going to get straight to the point with all our DIY tutorials; no fluffy’s. So here goes!
First things first
Here is the link to our “pinspiration” for our backdrop.
From there, I began designing a backdrop fit to their style…
Here is the list of things I needed to complete the project, & where I got it / what I did with it:
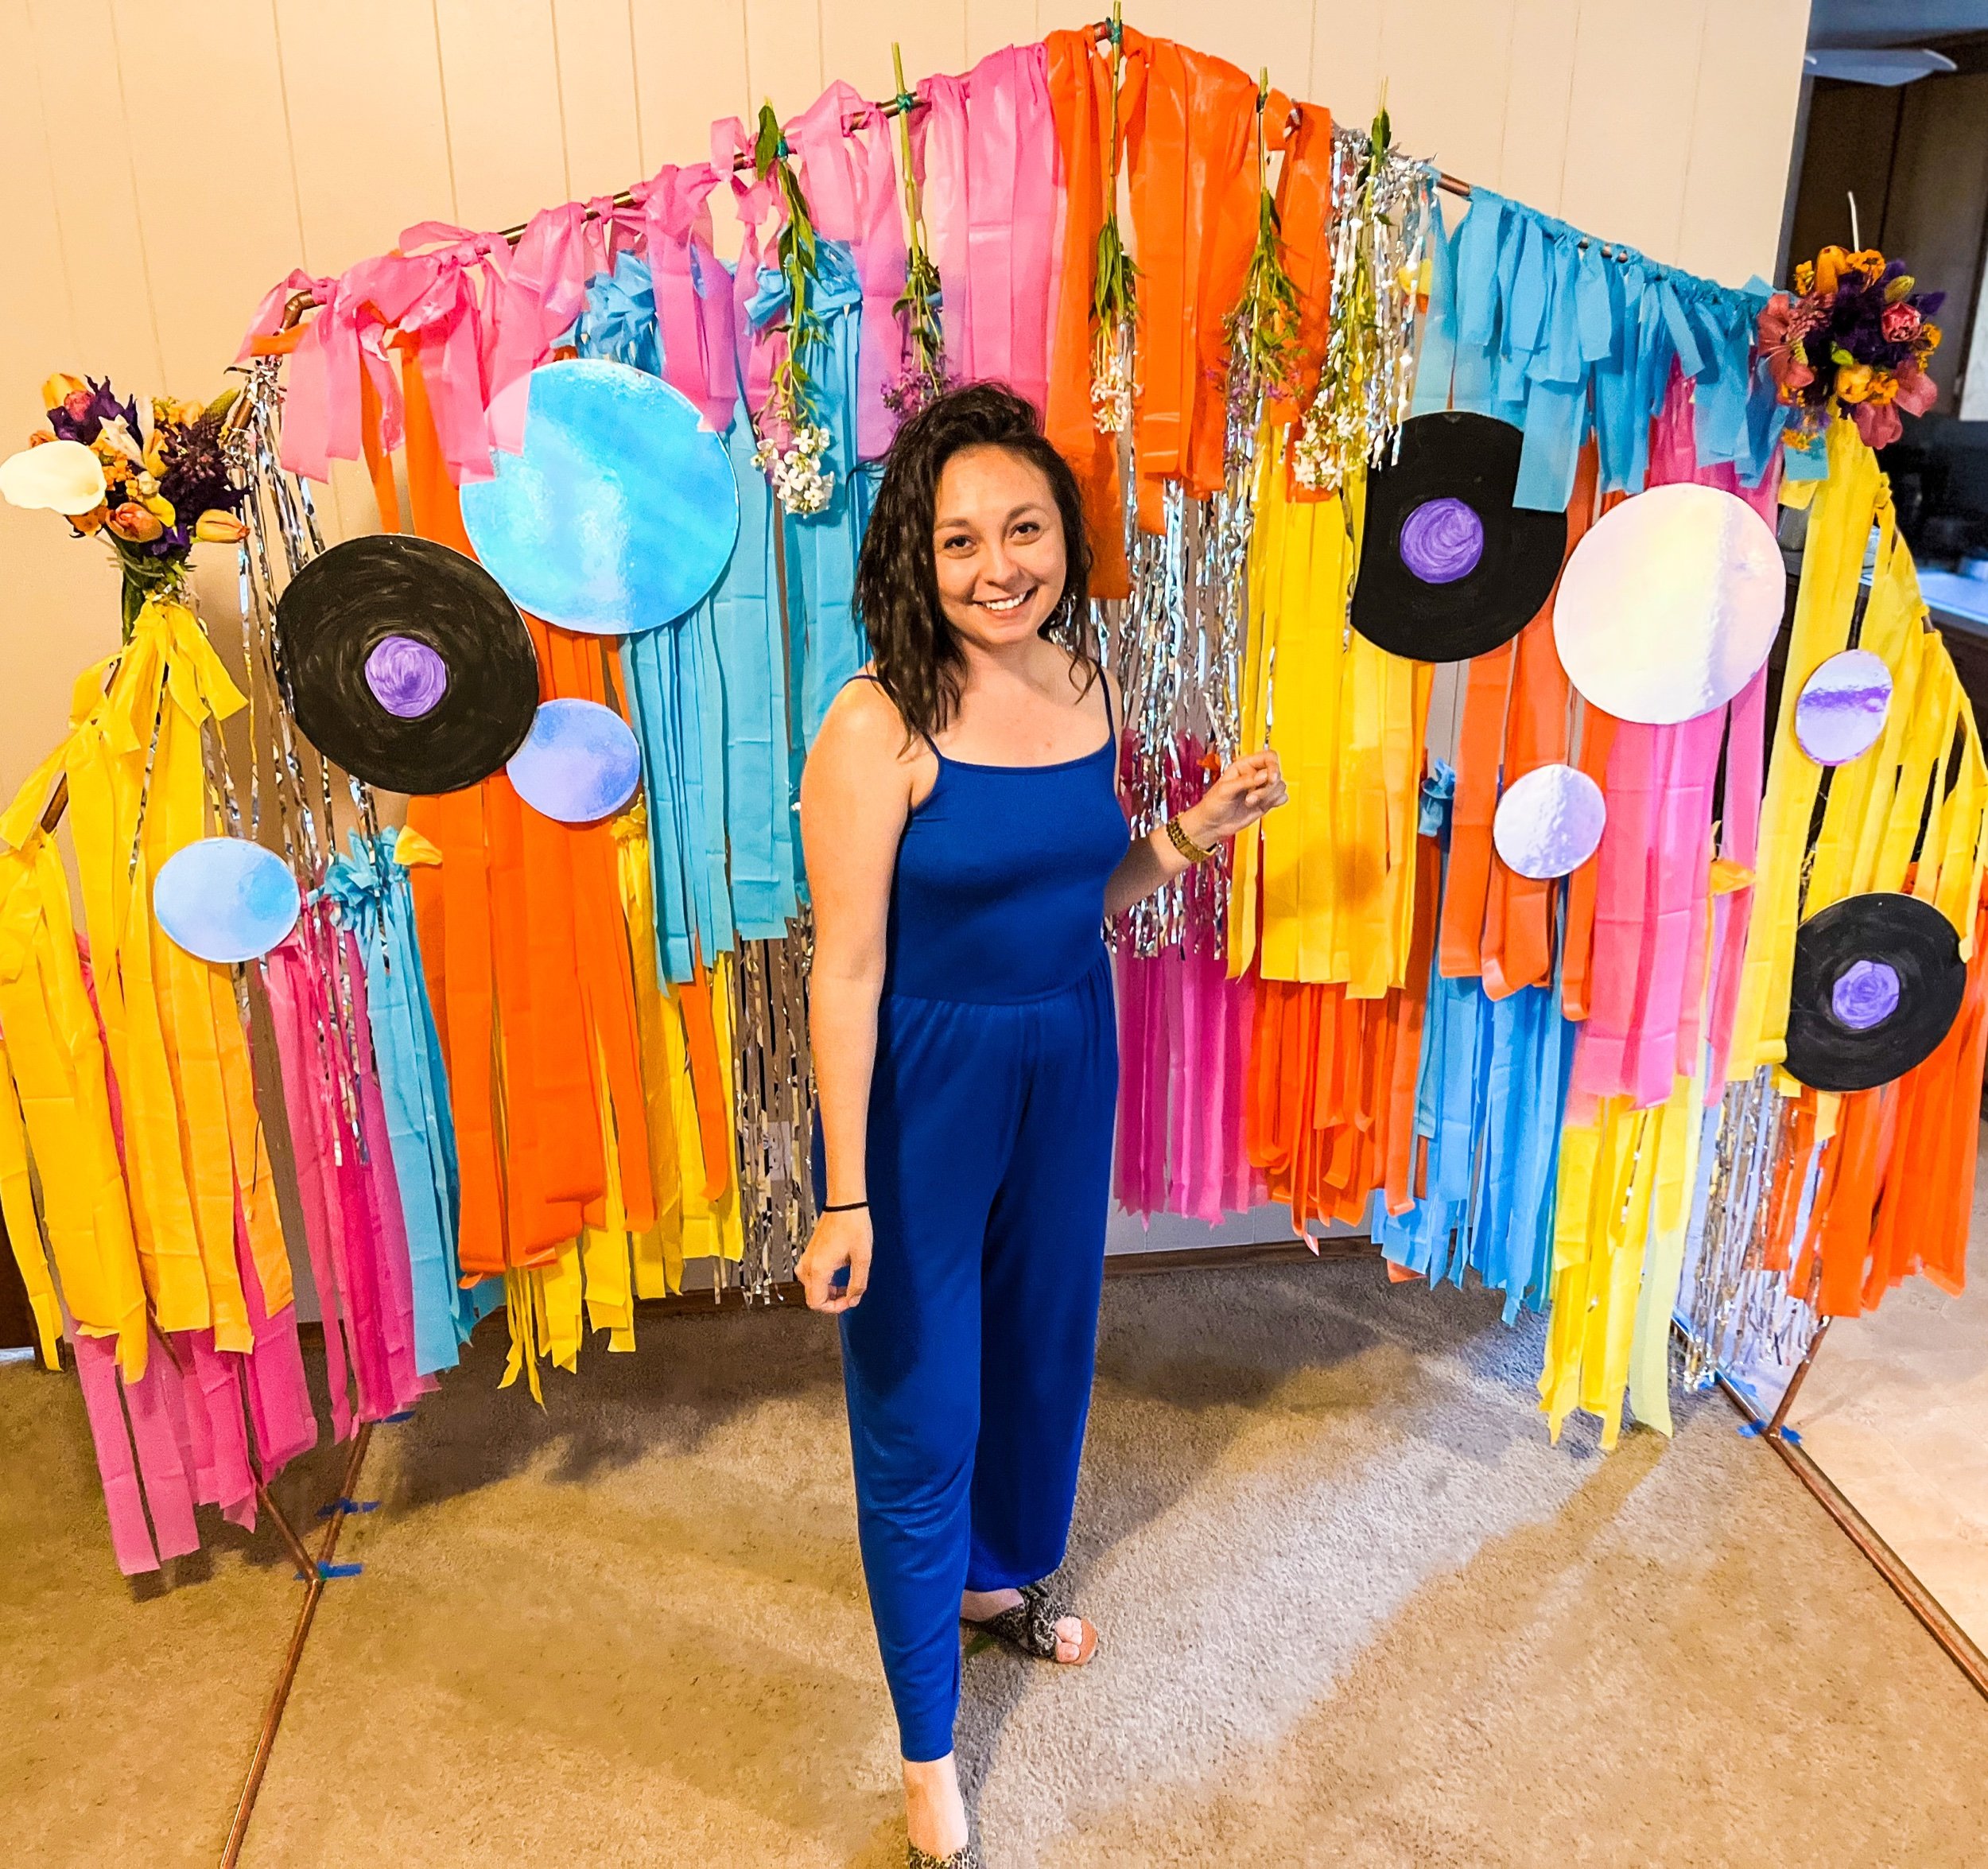
rose gold arbor - I made my own copper pipe arbor awhile back with copper pipes, fittings, and a pipe cutter. You can customize your own to any shape and size!
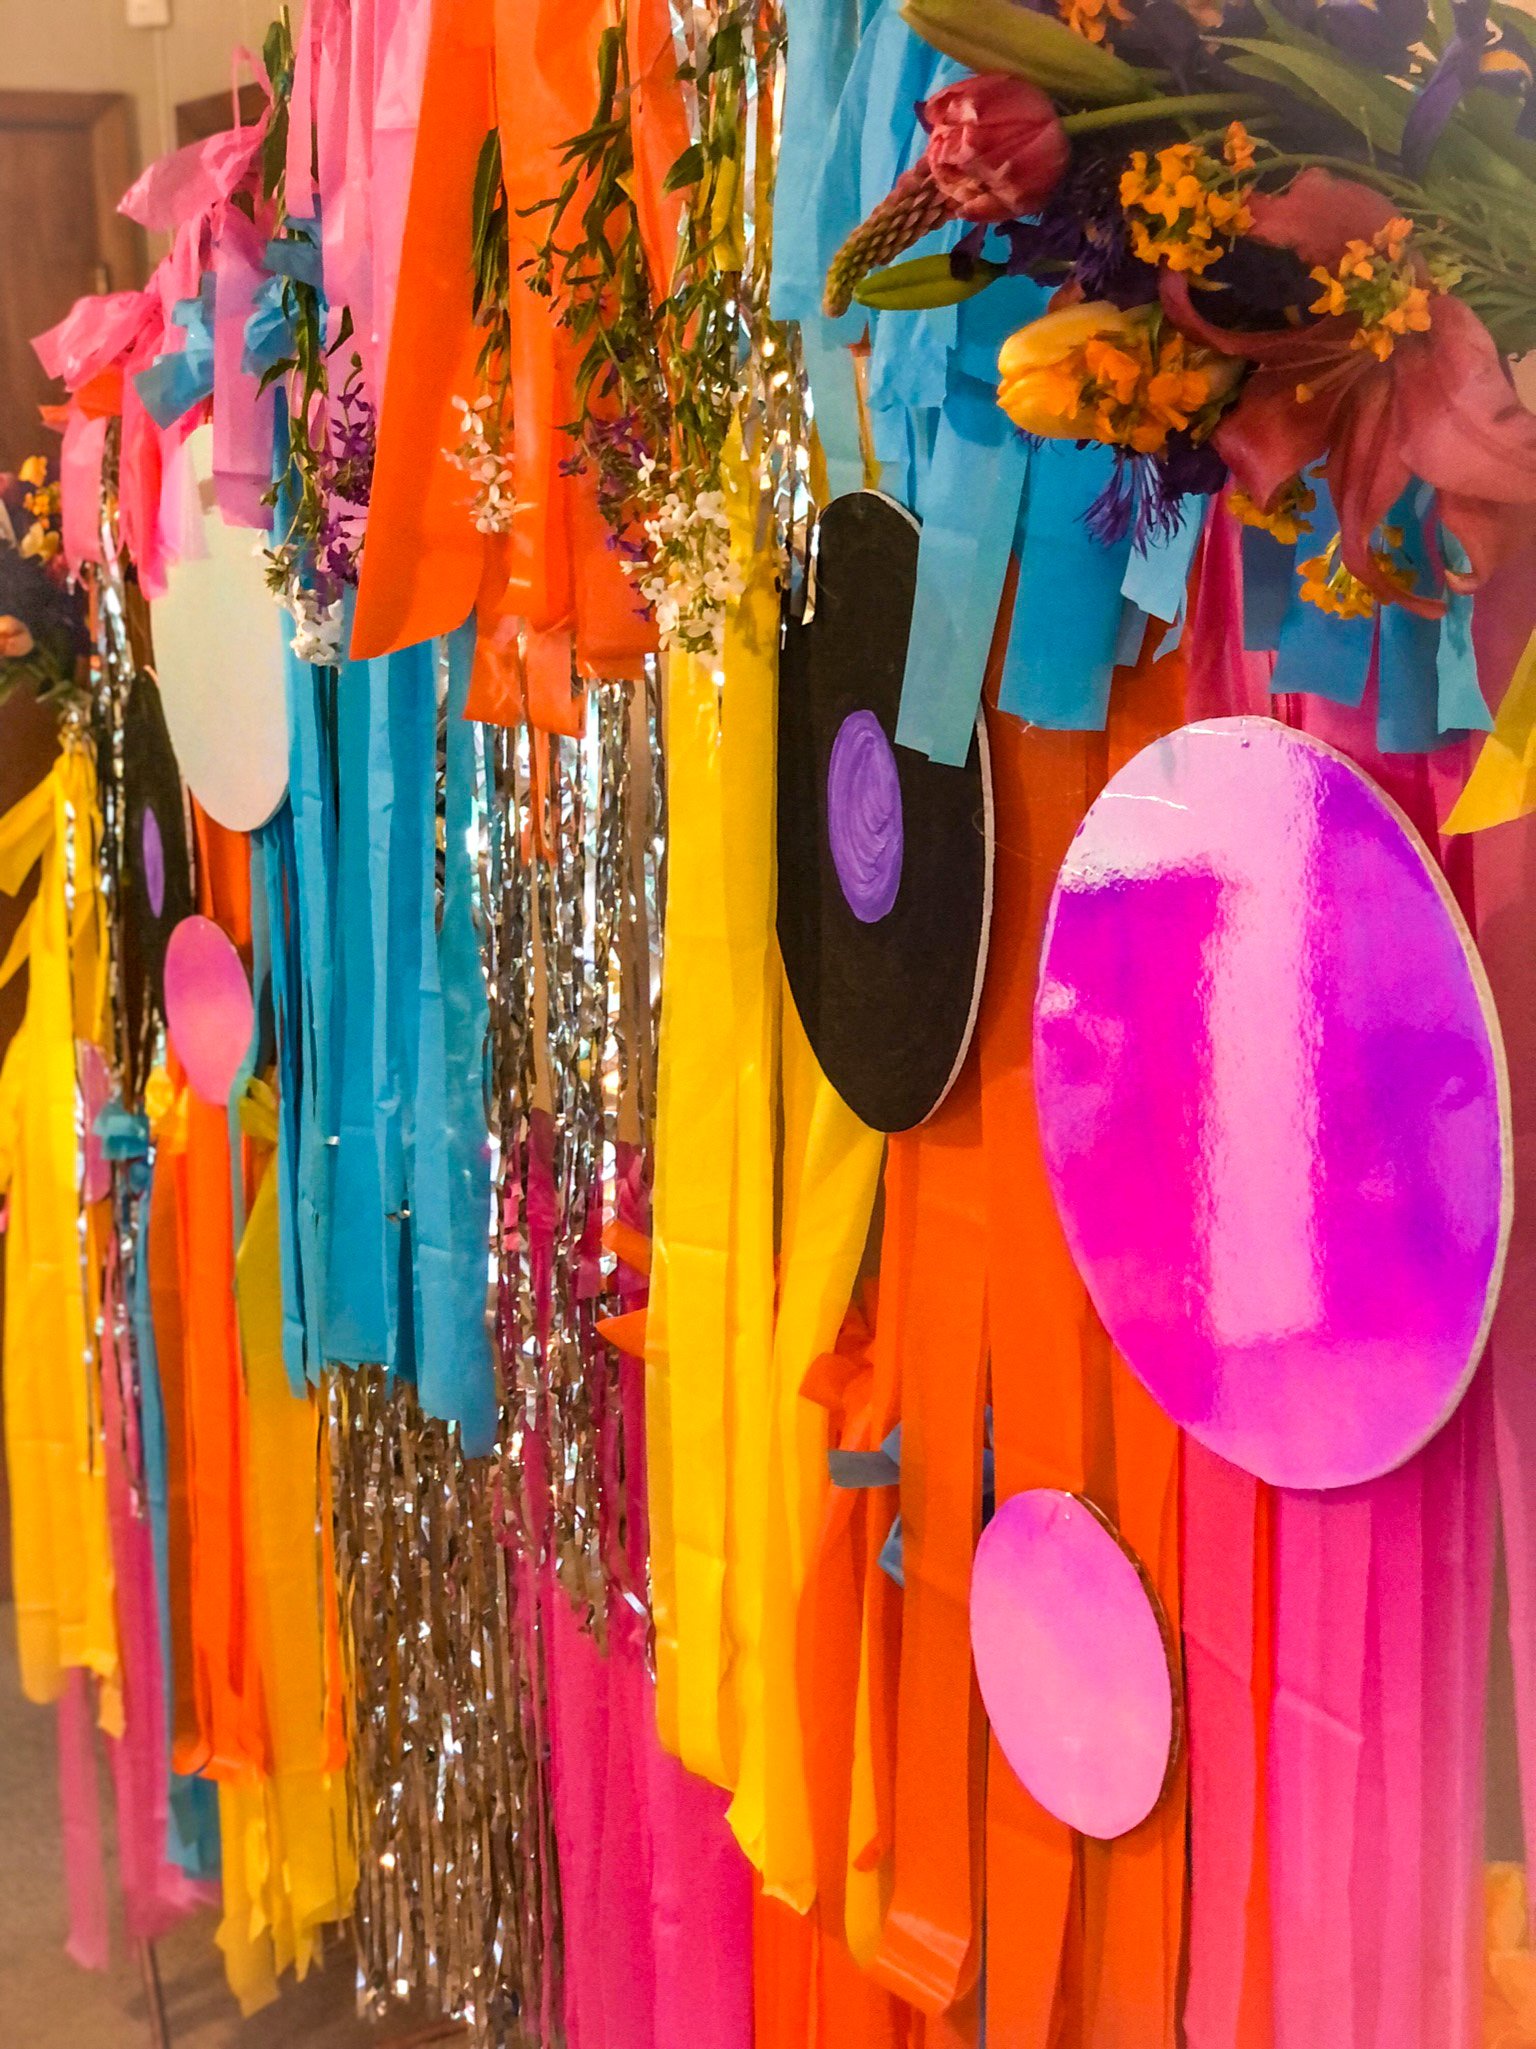
cd’s - I did not end up with cd’s, instead I purchased iridescent vinyl and stuck it to foam circles.
disco balls - same as the cd’s! Mariah also found cute chocolate balls in silver wrapping at Party City.
lots of cheap plastic tablecloths of various bright colors + silver - all were acquired from Party City, but can be found at the Dollar Store too! These were cut into strips of ribbon that were tied to the fishing line on the backdrop. Silver was bought as a door curtain (pre-cut ribbons)
foam circles - I had these on hand (cut poster foam board into circles using an exacto knife!)
paint foam circles: black & purple paint - painted to look like records
fishing line - can be found on amazon or craft stores! Used this to tie the ribbons on the backdrop to
Guest favors: DIY Lava Lamps - here is the link to our inspiration
dollar tree:
plastic shot glasses
tacky glue
mini cordial glasses
tbd spray paint - I ended up finding colorful shotglasses at the dollar store and we all thought it looked cute anyways!
candy
Kreation of DIY
To begin making the backdrop, I started with building the copper arbor and added the fishing line. You can barely see it here, but there is fishing line connecting the corner pipe fittings from one side to the other. I did this for a simpler breakdown, because I knew I was going to have to transport it!


I planned out that in order to get more strips of ribbon from the tablecloths…
Lay them all flat on top of each other (in order to cut them all at the same time)
Seal them together with a little bit of heat (used my straightener on low heat so I could detach them later)
Use painters tape to hold it to the floor while cutting strips (sealing it with heat made it easier to tape all four down together in the same spot)
Cut strips down the longest side of the tablecloth (I was able to continue using strips of ribbon because of their length. Strips were given a haircut after being tied to a row of fishing line on the arbor, and the excess I used for the next row of fishing line.)


Once the tablecloths had been cut down to strips, I wanted to make sure colors were not mixed (I heated earlier with low heat in order to detach them)
I cut the remaining end off the strips, detached them just by simply pulling them apart, and organized them into piles by color.

Next, I took the silver door curtain and I cut the top off to make strips of ribbon.
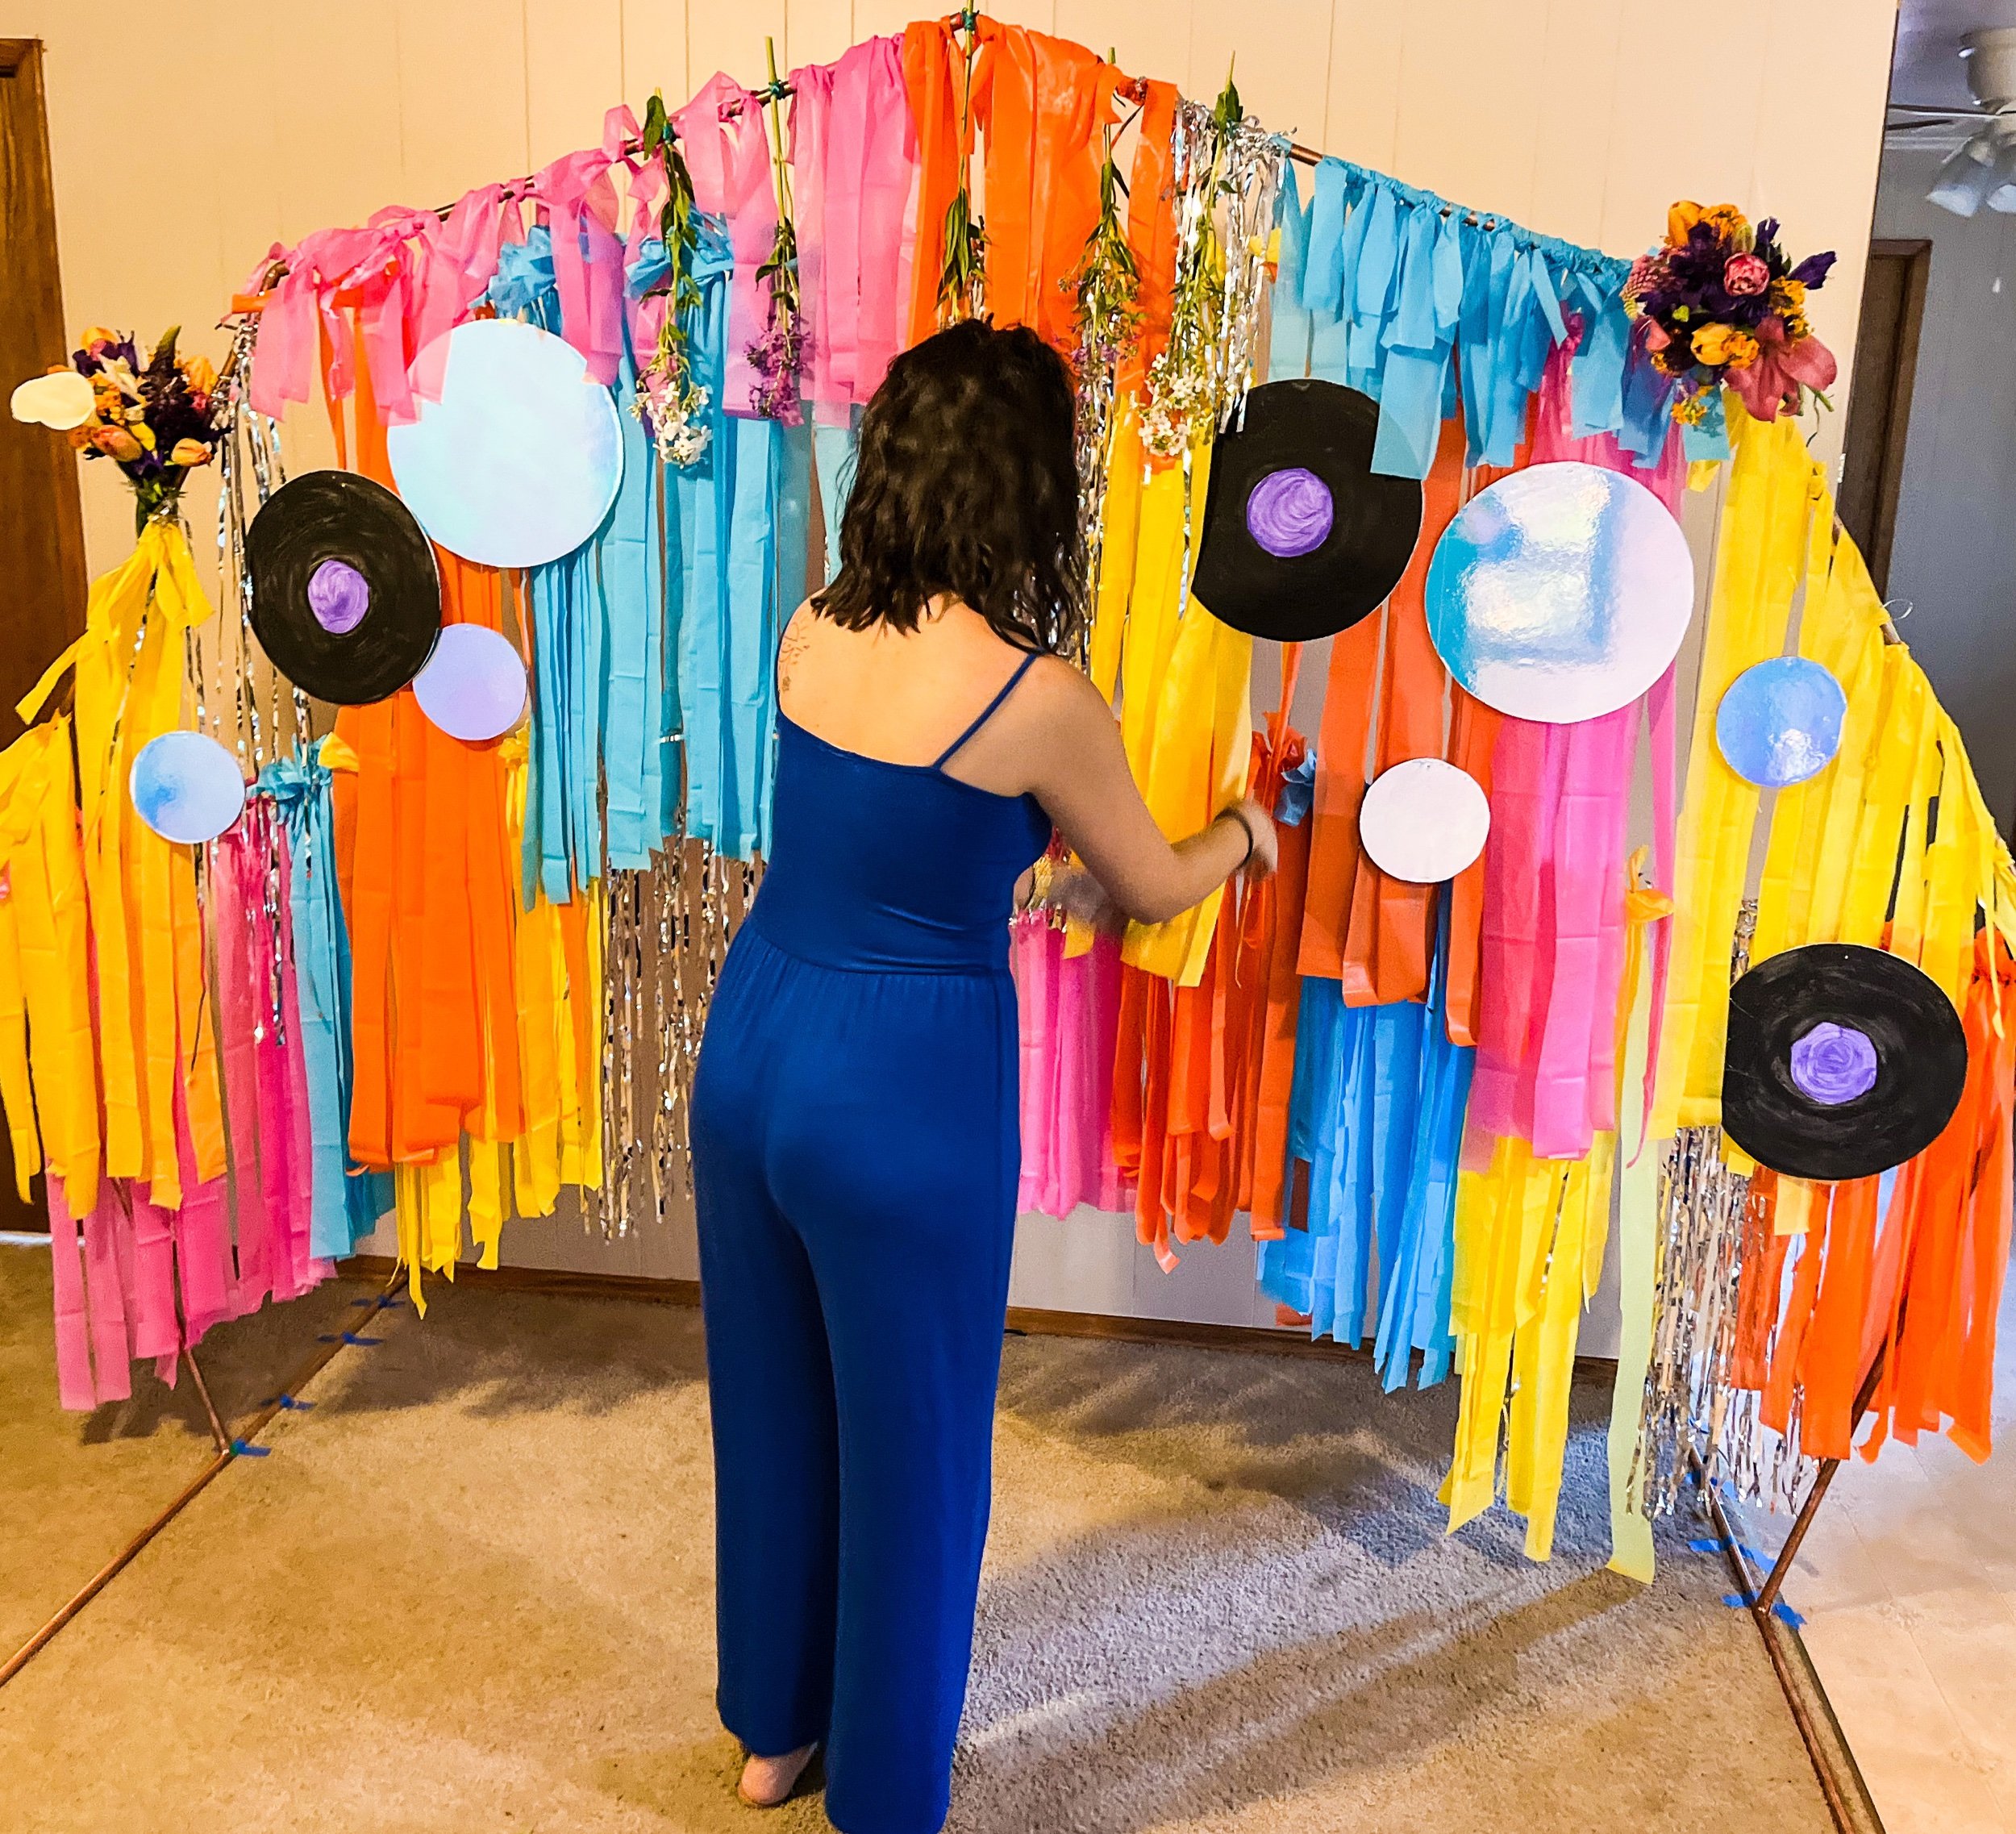
Now we tie the ribbons on! I randomly started tying colors on; there was no planned color scheme!

I chose different lengths to cut because I wanted it to have different layers / levels. I made sure all the layers were below the next row of fishing line.


Finally, because there’s so much weight holding onto the horizontal fishing line, I planned out to have more fishing line tied vertically at various points of the arbor in order to support the horizontal lines. For transport, I completed this step to a certain point - I decided to cut vertical fishing lines that hung low enough from where I tied them at the top of the arbor. This way, I could use the long vertical line to tie both the horizontal fishing lines to it when I set everything up onsite.

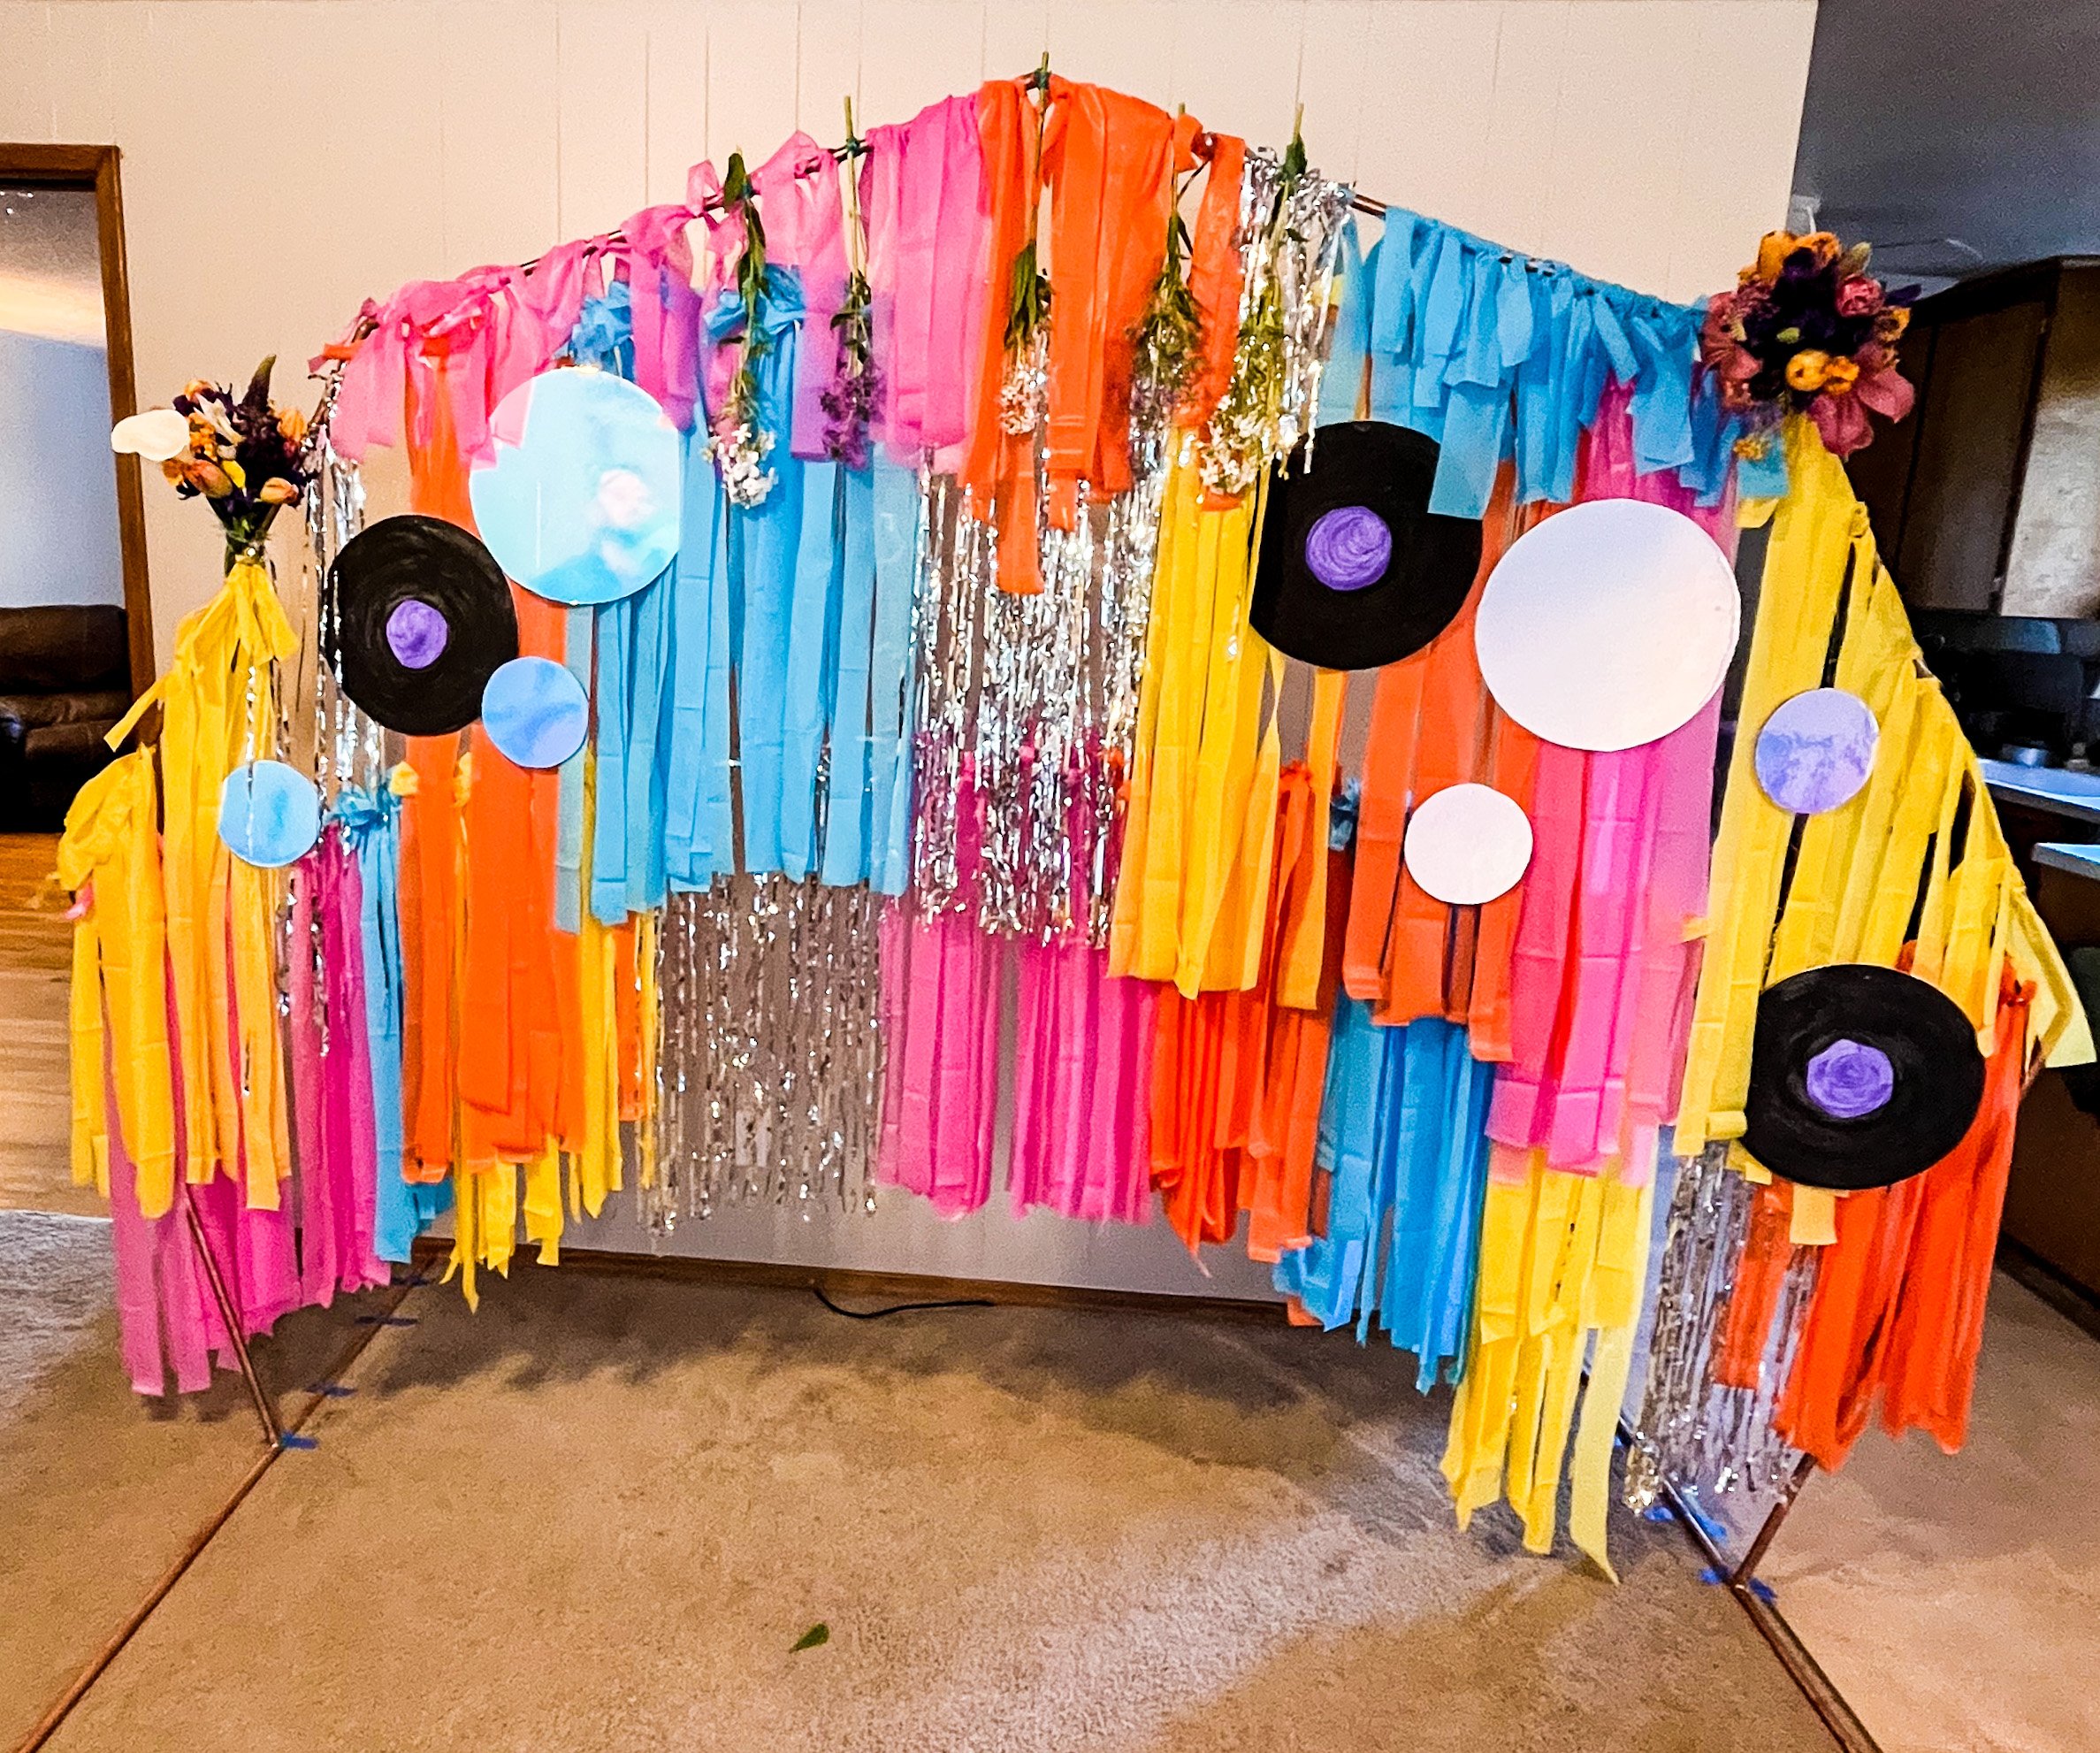
I had foam circles on hand that I ended up painting and adding vinyl to look like records, and disco balls or CDs. To make the records, I simply added a little purple paint to the middle of the circle, brushed with a foam paintbrush into the shape of a circle (eyeballed it), and then painted black all around. For the iridescent vinyl, I simply laid out the roll flat, sticky side up, placed a foam circle on top and used an exacto knife to cut the edges. I made these in advance a few weeks ago, but the DIY time including time for the paint to dry was around 12 hours! I decided to keep these off the arbor display until we were reassembling onsite for easier transportation. I prepared them by adding a long string of fishing line. To do this, you can use a sewing needle to poke the fishing line through, then poke the needle through the foam board! I didn’t know where I wanted to hang them all yet so I made the fishing line as long as the top to the bottom for all of them. Later I would tie them at various heights onto the arbor.
Transportation of DIY
Then it was time to take it all apart and get it ready for transport! Here you’ll see we used our wagon cart. to keep the ribbons from getting caught, we held everything on top with a heavy item.

Tips for safe transportation:
Use colored sticker dots! One of my most trusty tools that I love to use are colored sticker dots! I used these to label which parts go together, so that it was easier to put back together after having torn everything down. I made three labels for three layers: L1 & R1… + one Front and one Back label. I was working on the arbor on one side so I preferred for that to be the front side - this isn’t necessary, just a preference!
Pack it up! When getting ready for transporting DIYs to your event location, organize, pack and label boxes so you know where the boxes are going and what is inside of them. And of course, to keep everything secure. (e.g., I used Tupperware to pack the lava lamp guest favors so they wouldn’t roll around or great smashed.)
I say this to myself under my breath when I am carrying something really heavy or awkward or fragile, ‘slow and steady wins the race.’ There’s a reason it’s called fragile! When transporting items, handle with care and WALK SLOWLY when carrying.
If you have a cart, stroller, wagon, dolly, anything on wheels - USE IT! But that doesn’t mean you can run around with the things on it. Still… handle with care.
When putting into the vehicle, make sure that the space it’s going in is already planned out - there is enough space for that item to fit, and there’s no fussing around cleaning up last minute to make room for it.
Long drive? Gotta get to that wedding ceremony through the gravel road with all the potholes? Yeah… been there too. Bring extra towels, blankets, or pillow cushions to act as packaging in the vehicle.
Things to consider bringing for DIY setup:
A step ladder or stool
Extra fishing line
Extra colored ribbon for arbor
Scissors
Tape - I prefer to use painters tape for this project. I used it to tape the back legs of the arbor to the floor, in case anyone tripped over it due to the space.
Reassembly of the DIY
Because I used colored sticker dots, I knew exactly which side was front / back, and left / right. It made it easier to lay it out on the floor before reattaching the pieces. Will have pics of this part updated here soon!
I had help putting the arbor together because it was tall, fragile, large, etc. We started putting the copper pieces together from the bottom and then played around with it until straight and secure.
Once the arbor was put together at their party, I added the foam circles I had painted and vinyled, tying them at random / various locations of the display. I was also able to add a little bit of our Market Florals Package with flowers I picked from Pike Place Market that morning!
The girls loved it and had a groovy 29th birthday. Cheers ladies!


PLUS: Here is our version of the DIY Lava Lamps!


